 icon in the Menu bar.
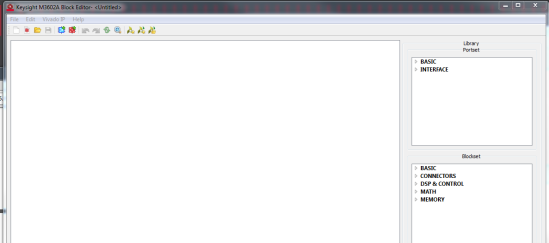
A block can be created using components from the Library Portset and Blocksets.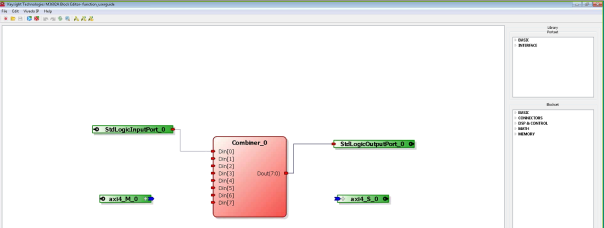
Adding and Editing Blocks
Importing User IPs
Importing Vivado IPs
The hardware project is used for assembling blocks and connections to achieve a hardware FPGA project solution, see Creating the Main Hardware Project
As part of that solution, it will no doubt be necessary to create some new custom blocks to add to the IP blocks in the library. An example of a new custom block would be to add some custom signal delay based on the different logical combination between two existing blocks in the hardware project. This would be done as follows:
To create a new FPGA Block project, do the following:
icon in the Menu bar.A block can be created using components from the Library Portset and Blocksets.